
🕑 9 min read
What are the best coil cleaning methods for San Antonio homes?
The best methods use proper coil cleaners, gentle agitation, and thorough rinsing, or professional-grade equipment, to remove buildup without damaging delicate fins. Go Air Ducts uses safe, effective coil cleaning methods for San Antonio homes to restore cooling power, efficiency, and cleaner air.
Table of Contents
- 1. Understanding AC Coil Buildup and Why Cleaning Matters
- 2. DIY Coil Cleaning vs Professional Service: What Works Best
- 3. Chemical Coil Cleaners and Their Effectiveness
- 4. Pressure Washing for Outdoor Condenser Coils
- 5. Our Professional Coil Cleaning Process That Delivers Results
- 6. Energy Savings You'll See After Professional Coil Cleaning
- 7. Preventing Future Coil Buildup with Regular Maintenance
- Frequently Asked Questions (FAQ)
1. Understanding AC Coil Buildup and Why Cleaning Matters
AC coils accumulate contaminants fast in San Antonio’s climate. Your evaporator coil (inside the unit) and condenser coil (outside) attract dust, pollen, pet hair, and moisture. When those coils get dirty, your system has to work harder to transfer heat, which wastes energy and increases wear.
Here’s what happens: a buildup of just 0.004 inches of dirt on the coil can reduce efficiency by 5-10%. For homeowners, that translates to longer cooling cycles, higher electric bills, and accelerated component failure. You might notice poor airflow from vents, warm spots in certain rooms, or your AC running constantly without reaching your desired temperature.
San Antonio’s humidity and air quality mean coils collect debris faster than in drier climates. Regular cleaning prevents this snowball effect and keeps your system performing at design capacity.
Actionable takeaway: Schedule a visual inspection of your outdoor condenser coil today. If you see visible dust or dirt buildup, cleaning should be your next step.
2. DIY Coil Cleaning vs Professional Service: What Works Best
You can clean outdoor condenser coils yourself with basic tools, but indoor evaporator coils are a different story. We recommend a clear-eyed comparison of the two approaches.
DIY cleaning works best for outdoor condenser coils only. You can spray them down with a garden hose on low pressure, use a soft brush to loosen debris, or apply a no-rinse coil cleaner. The job takes 30-45 minutes and costs under $50 in supplies. However, DIY methods typically remove only surface-level dust, not the stubborn buildup inside the coil fins.
Evaporator coils inside your furnace or air handler require removing panels, draining condensation lines, and working safely around electrical components. Mistakes here can damage the coil or release refrigerant. Many homeowners damage their systems trying to clean interior coils themselves, resulting in repair costs far exceeding professional cleaning.
We’ve documented this throughout our service areas: homeowners who attempt DIY interior coil cleaning often end up calling us for repairs that wouldn’t have been necessary otherwise. Professional vs DIY coil cleaning offers more detail on where the real risks lie.
Where DIY makes sense: Outdoor condenser coil maintenance between professional services.
Where professional service is non-negotiable: Evaporator coils, moldy coils, and coils with refrigerant concerns.
3. Chemical Coil Cleaners and Their Effectiveness
Chemical coil cleaners come in several varieties, and effectiveness depends on buildup type and application method.
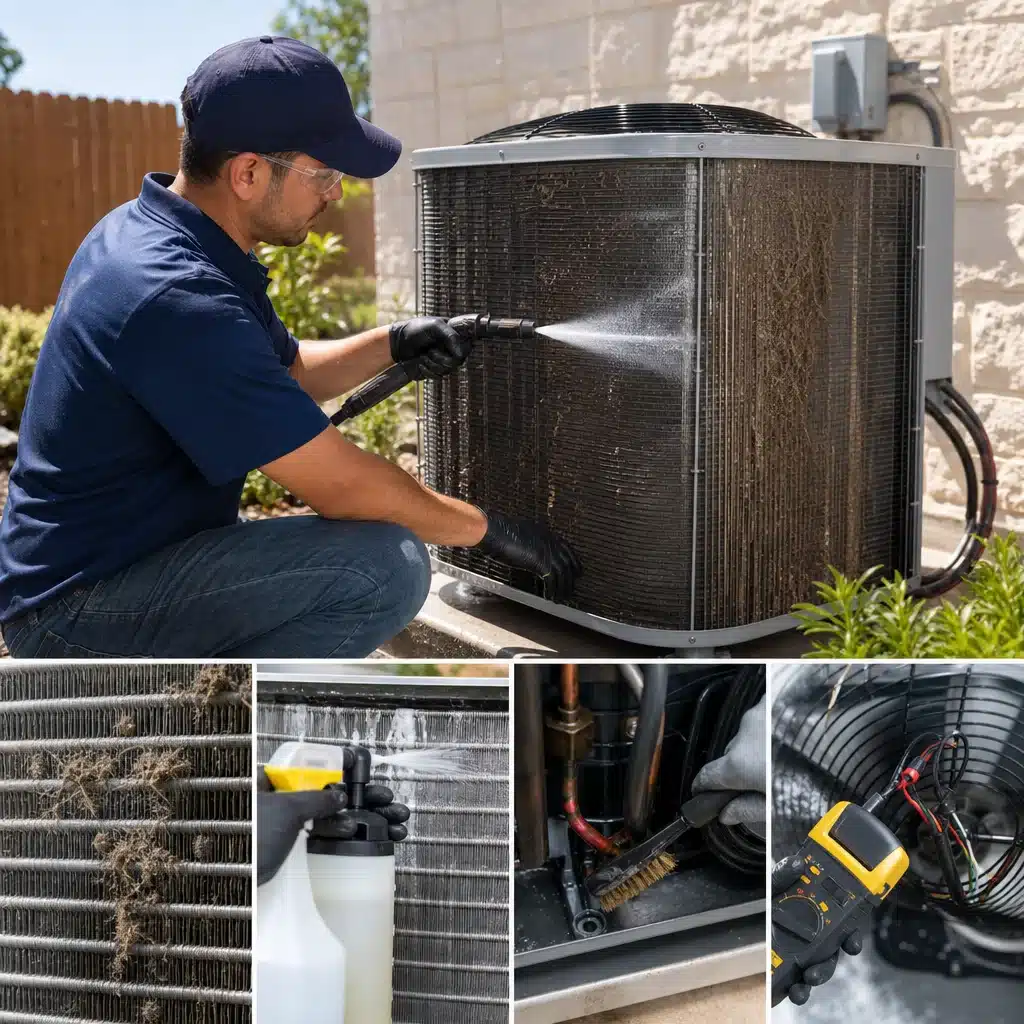
No-rinse coil cleaners spray directly onto coils and dry without water. They work well on light dust and pollen but struggle with heavy industrial dust, mold, or mineral deposits. Cost runs $15-40 per application, and they’re suitable for DIY outdoor condenser maintenance.
Alkaline cleaners break down organic buildup and work better on coils exposed to greasy or oily environments (like kitchens or industrial zones). Acidic cleaners dissolve mineral deposits and rust, ideal for areas with hard water or high humidity. Many professional-grade products combine both properties for comprehensive cleaning.
The catch: chemical cleaners alone don’t remove debris that’s already hardened into the coil fins. You need mechanical action, brushing or rinsing, to lift the material away. A chemical cleaner without proper rinsing leaves residue that ironically attracts more dust over time.
San Antonio’s hard water and mineral-rich dust mean chemical cleaners should be paired with thorough rinsing for lasting results. We use commercial-grade formulations combined with controlled pressure rinsing in our professional process, which outperforms retail chemical cleaners available at hardware stores.
Actionable takeaway: If you choose a chemical cleaner for DIY use, follow the product’s rinse instructions exactly. Under-rinsing creates more problems than it solves.
4. Pressure Washing for Outdoor Condenser Coils
Pressure washing removes stubborn debris from outdoor condenser coils effectively, but improper technique causes expensive damage.
Low-pressure rinsing (under 500 PSI) safely cleans condenser coils without bending the delicate aluminum fins. Many homeowners grab their 3,000 PSI pressure washer and damage the coil permanently, requiring replacement at $1,500 or more. We see this damage regularly: bent fins block airflow and can’t be straightened without special tools.
The correct approach uses a garden hose nozzle on spray setting, or rent a low-pressure washer specifically for HVAC work. Apply water perpendicular to the coil fins so debris rinses downward, not deeper into the coil. Never angle the stream horizontally across the fins.
For interior evaporator coils, pressure washing is off limits entirely. The water, velocity, and pressure can damage the brazing that holds the coil together and force moisture into electrical components.
Critical safety note: Turn off power to your AC unit before attempting any water-based cleaning. Wet coils and electrical components create serious hazards.
5. Our Professional Coil Cleaning Process That Delivers Results
We’ve refined our coil cleaning process over thousands of San Antonio service calls, and the method delivers measurable improvements in efficiency and airflow.
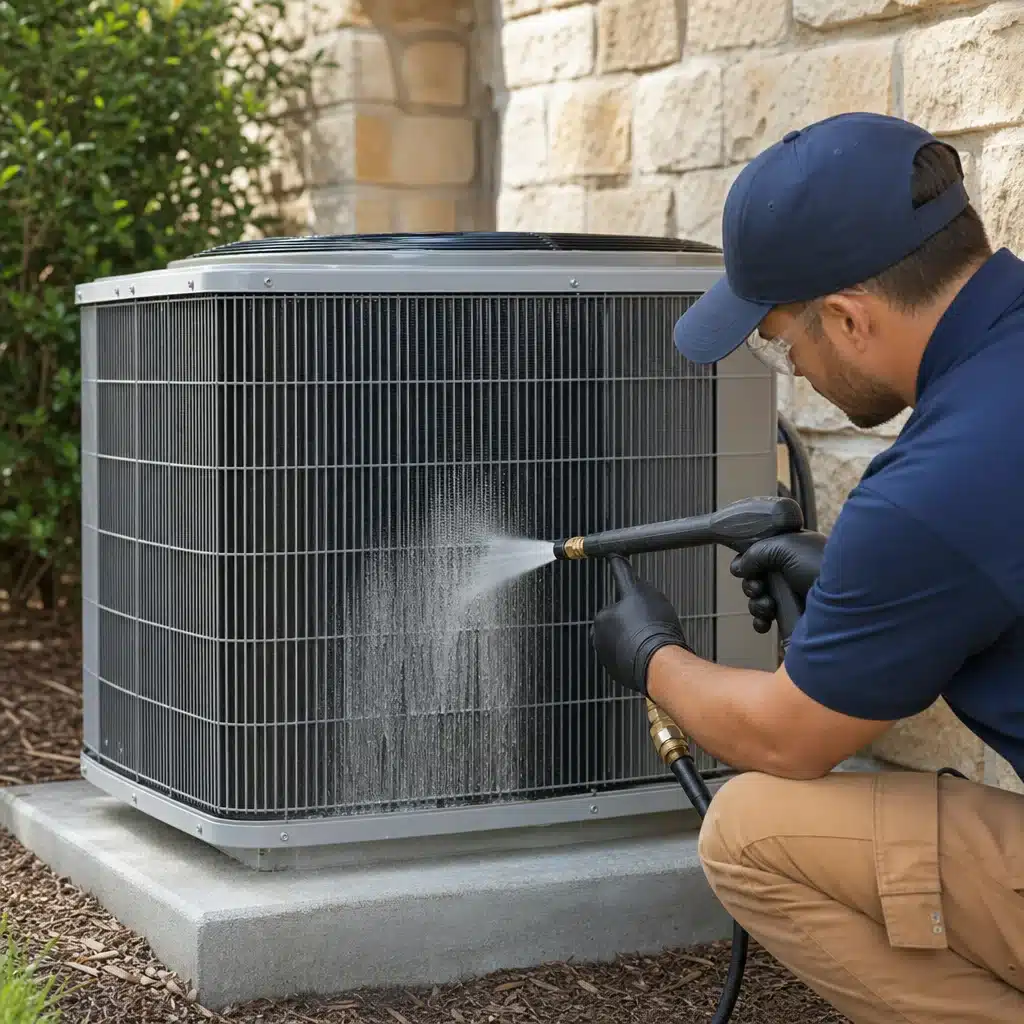
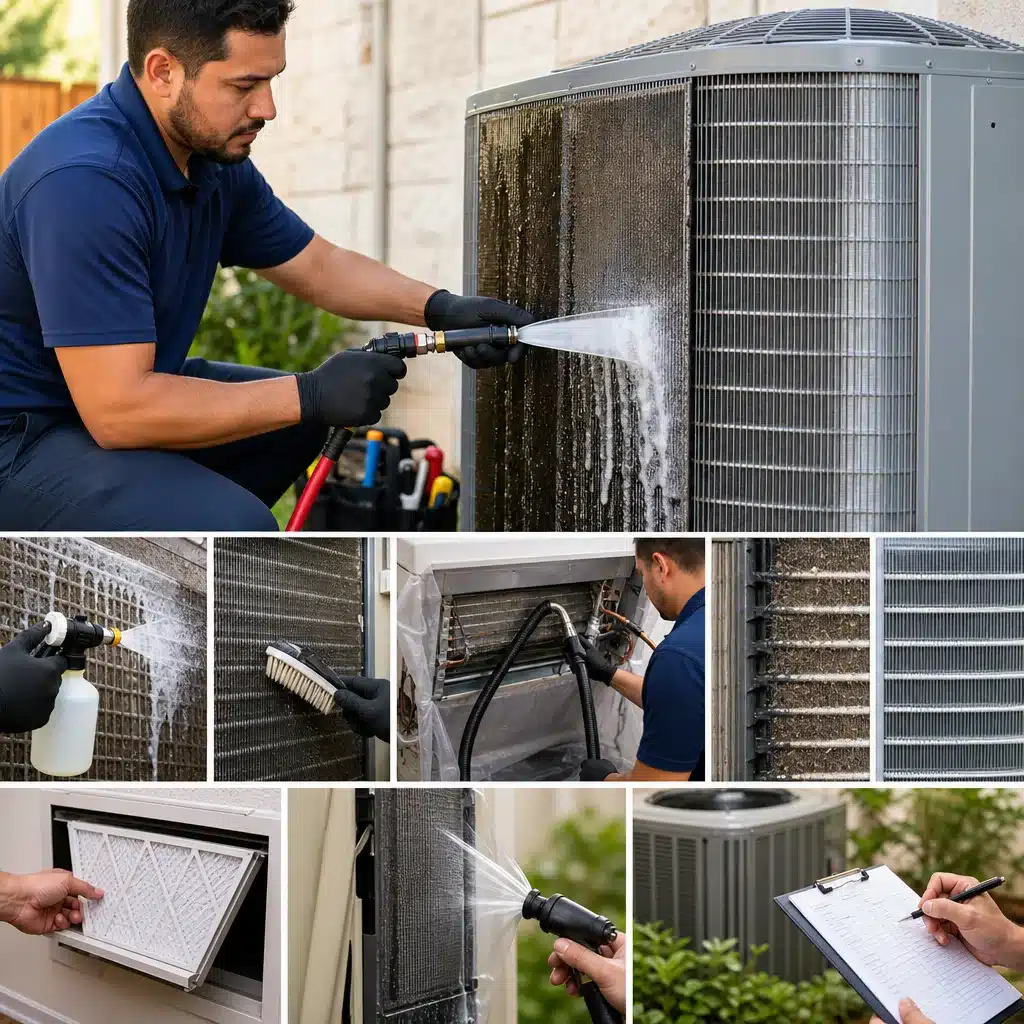
Our certified HVAC technicians start with a thorough inspection to identify buildup type, mold, or corrosion. For outdoor condenser coils, we apply commercial-grade alkaline or acidic cleaners tailored to the specific contamination. We then use controlled low-pressure rinsing to remove debris completely, finishing with a protective coating that slows future accumulation.
Interior evaporator coils receive the same precision treatment. We safely access the coil inside your air handler, apply appropriate cleaning solutions, and rinse with specialized equipment that removes moisture afterward. This prevents mold regrowth and moisture-related corrosion.
Unlike DIY approaches, we inspect the entire coil surface, including back and side fins that homeowners typically miss. We also check drainage lines, refrigerant lines, and electrical connections for safety and function.
The result: improved airflow, faster cooling cycles, lower energy bills, and extended equipment life. Our customers typically report 10-15% efficiency gains on their next energy bill, depending on how badly the coils were clogged. For homeowners concerned about mold in ducts or coils, deep HVAC coil cleaning in Austin details our mold remediation protocols.
We offer free service estimates, so you’ll know the exact coil cleaning cost in San Antonio before we begin work. Same-day service is available in most cases, and we work within your schedule.
Actionable takeaway: Contact us for a free estimate. Our technicians can assess whether coil cleaning alone solves your cooling problems or if bundled services deliver better value.
6. Energy Savings You’ll See After Professional Coil Cleaning
Clean coils reduce your cooling load dramatically, and the energy savings appear on your next electric bill.
A typical San Antonio homeowner with moderate coil buildup saves 8-15% on AC energy costs after professional cleaning. For homes with heavy buildup (common in properties that haven’t had service in 3-5 years), savings reach 15-25%. If your AC bill runs $200 monthly during summer, cleaning could save $25-50 per month.
The savings come from reduced compressor runtime. When coils are clean, your AC reaches the set temperature faster and cycles off more frequently. Your equipment also ages slower because it isn’t working at maximum strain every day.
We’ve documented these savings across our service areas, and homeowners often recoup the cleaning cost within one cooling season. For bundled HVAC service packages, combining coil cleaning with duct cleaning and filter upgrades amplifies the savings further.
Real-world example: A San Antonio homeowner with a 3-ton AC system and poor coil efficiency might run the compressor 6-8 hours daily during peak summer. After professional cleaning, that runtime drops to 4-5 hours for the same cooling output. At $0.14 per kilowatt-hour, that’s roughly $40-50 in monthly savings.
Actionable takeaway: If your current AC bill seems high or your unit runs constantly, coil cleaning should be your first diagnostic step before considering equipment replacement.
7. Preventing Future Coil Buildup with Regular Maintenance
One cleaning sets you up for success, but ongoing maintenance keeps coils in top condition year-round.
Change your AC filter every 1-3 months, depending on household dust levels and pet activity. A clean filter stops debris before it reaches the coils, extending the time between professional cleanings. Many homeowners skip this step and wonder why coils get dirty so fast; the answer is a clogged filter forcing debris to bypass the filter media.
Have your coils inspected annually, ideally at the start of cooling season. We can spot early buildup before it impacts efficiency and schedule cleaning proactively rather than reactively. This prevents the situation where your AC fails mid-summer and you’re waiting for service slots.
Keep outdoor condenser coils clear of vegetation, mulch, and debris. Trim shrubs and trees at least two feet away from the unit. This simple step cuts coil contamination by 30-40% and improves outdoor airflow.
Check your condensate drain line monthly during the cooling season. A clogged drain traps moisture, creating the perfect environment for mold growth on coils. Pour a cup of white vinegar down the line quarterly to prevent algae and bacterial buildup.
For detailed guidance on the full maintenance schedule, our best HVAC maintenance guide covers seasonal tasks, filter schedules, and when to call professionals.
Actionable takeaway: Set calendar reminders for filter changes and annual inspections. Preventive maintenance costs less than emergency repairs and keeps your system reliable.
If you’re dealing with dust, poor airflow, mold in your ducts, or a clogged dryer vent — don’t wait. These issues can affect your health and safety. Go Air Ducts Group are the local experts in air duct cleaning, mold removal, dryer vent cleaning, and attic insulation. Call now for a free inspection and same-day service in Austin and San Antonio.
Frequently Asked Questions (FAQ)
How much does professional coil cleaning cost in San Antonio?
Our coil cleaning pricing typically ranges from $150 to $400 depending on your system’s size and the extent of buildup. We provide free estimates so you can see the exact cost for your home before we start any work. Most San Antonio homeowners find that the energy savings from clean coils pay for the service within a few months.
Can I clean my AC coils myself, or should I hire a professional?
While basic vacuuming of accessible coils is possible, we recommend professional cleaning because improper techniques can damage the delicate fins and reduce cooling efficiency. Our technicians use specialized equipment and food-grade coil cleaners that safely remove buildup without harming your system. DIY methods often miss indoor coils entirely, which are just as important as outdoor condenser coils for peak performance.
How often should I have my coils professionally cleaned?
We suggest having your coils inspected and cleaned annually, ideally before the cooling season begins in spring. If you have pets, live near construction, or notice reduced airflow, we may recommend twice-yearly cleaning. Regular maintenance prevents the heavy buildup that leads to expensive repairs and keeps your energy bills lower throughout the year.