
🕑 12 min read
How do you prepare for blow-in insulation installation?
Good preparation includes clearing the attic, sealing air leaks, addressing any moisture or wiring issues, and confirming the target R-value. This ensures the insulation performs. Go Air Ducts guides homeowners through pre-installation steps and handles blow-in insulation professionally for maximum energy savings and comfort.
Table of Contents
- Why Proper Preparation Makes or Breaks Your Insulation Project
- Critical Pre-Installation Inspection and Assessment
- Air Sealing Your Attic: The Essential First Step
- Ventilation Requirements We Must Address Before Installation
- Protecting Your Home: Covering and Securing Valuables
- HVAC System Preparation and Clearance
- How Our Installation Process Benefits From Your Preparation
- Timeline and Scheduling Expectations for Your Project
- Common Preparation Mistakes That Compromise Results
- Professional Support: Why We Handle the Details
- Your Complete Checklist Before Installation Day
- Getting Started With Go Air Ducts Today
- Frequently Asked Questions (FAQ)
Why Proper Preparation Makes or Breaks Your Insulation Project
Blown-in insulation is one of the smartest investments a Texas homeowner can make for energy efficiency and comfort. However, we’ve seen countless projects where poor preparation led to reduced performance, extended timelines, and unnecessary costs. The difference between a successful installation and a disappointing one often comes down to how well your attic is prepared before our crew arrives.
We work with Austin and San Antonio homeowners regularly, and we know that preparation isn’t glamorous, but it matters enormously. When your space is ready, our installation goes faster, lasts longer, and delivers the energy savings you’re paying for. This guide walks you through every step to ensure your blow-in insulation project succeeds from day one.
Attic preparation determines whether your new insulation performs at its rated R-value or falls short. An unprepared space can trap moisture, compress new material, and create air pockets that waste energy. We’ve documented cases where skipped prep work reduced insulation effectiveness by 20-30 percent.
Think of preparation like priming a wall before painting. You wouldn’t skip primer and expect a perfect finish. Your attic is the same. When we seal air leaks, address ventilation, and clear obstructions first, the blown-in material spreads evenly, stays in place, and works as intended.
Beyond performance, preparation protects your home and our crew. Loose nails, uncovered wiring, and structural hazards create safety risks and project delays. A prepared attic means faster installation, fewer surprises, and a result that will serve your home for decades.
What to do next: Schedule a pre-installation assessment with us to identify exactly what preparation your attic needs.
Critical Pre-Installation Inspection and Assessment
We always begin with a thorough walk-through of your attic space. This isn’t a casual look-around; we’re checking for structural integrity, existing insulation condition, common air duct problems that affect airflow, and any signs of moisture or pest activity.
During this inspection, we evaluate:
- Existing insulation type and depth (to determine how much new material you need)
- Roof condition and active leaks (which must be sealed before insulation)
- Attic floor integrity and any soft spots or damage
- Electrical wiring routing and clearances from future insulation
- Signs of mold, rodent activity, or pest nests (which require treatment first)
- Ductwork location and condition to avoid blocking or compressing ducts
If we find structural issues, mold, or pest damage, we’ll flag these for you and recommend next steps. We don’t hide problems; we give you straight information about what needs fixing and why.
What to do next: Call us for a free pre-installation inspection before you commit to a date. We’ll provide a written assessment and a clear scope of work.
Air Sealing Your Attic: The Essential First Step
Air leaks are the enemy of insulation effectiveness. Warm air escapes through gaps in your attic structure, and cold outside air gets drawn in. Even the best blown-in insulation can’t fix poor air sealing. This is why we always air seal before we blow in.
Common air leak locations include:
- Gaps around roof penetrations (vents, chimneys, plumbing stacks)
- Cracks in the attic floor and rim joists
- Gaps around electrical outlets and light fixtures on exterior walls
- Unsealed ductwork connections and returns
- Spaces where walls meet the attic floor
We use caulk, expanding foam, and metal flashing to seal these gaps. The goal is to create a continuous air barrier so your new insulation isn’t fighting against conditioned air leaking away.
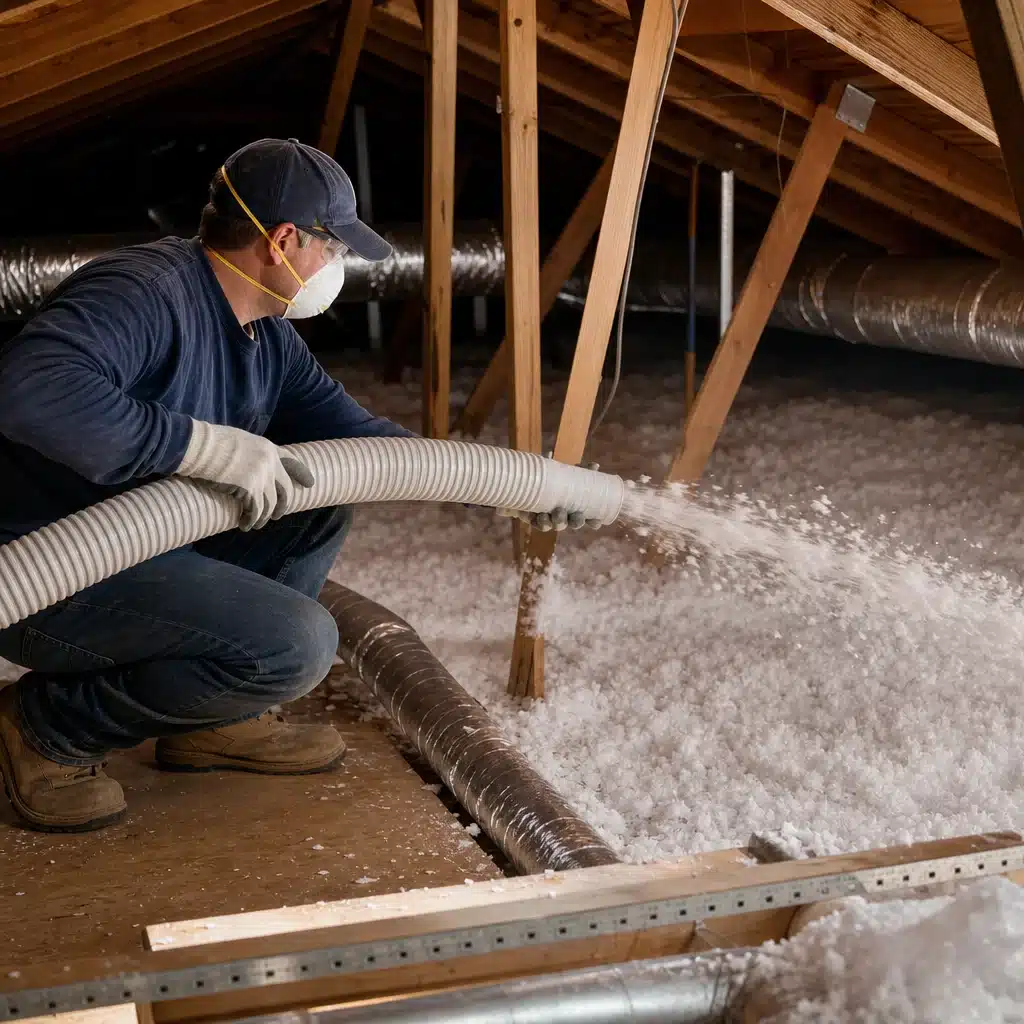
Proper air sealing can reduce your heating and cooling costs by 10-15 percent on its own. Pair it with blown-in insulation, and the savings compound significantly.
What to do next: Before installation day, remove any storage or obstructions from your attic so we can access all corners and sealing points easily.
Ventilation Requirements We Must Address Before Installation
Your attic needs to breathe. Proper ventilation carries moisture away and prevents condensation and rot. If we blow in insulation without ensuring adequate ventilation, you risk moisture buildup that damages framing and reduces insulation performance.
We check that your attic has:
- Unobstructed soffit vents (intake) on the lower edge of your roof
- Ridge vents or gable vents (exhaust) at the peak or top of your roof
- A clear airflow path from soffits to ridge (baffles in place to prevent insulation from blocking intake)
If your soffit vents are clogged or missing, we’ll ensure they’re cleared or installed. If existing insulation blocks ventilation, we’ll install rafter vents to restore the airflow channel. Without this step, your new insulation can trap moisture and create long-term problems.
What to do next: Look up at your roof exterior. You should see small holes along the soffit (under the eaves). If you don’t, or if they’re visibly blocked, let us know during your inspection.
Protecting Your Home: Covering and Securing Valuables
Most attics hold stored items: holiday decorations, old photos, furniture, or equipment. Blown-in insulation can settle on surfaces and make retrieval messy. Before we arrive, clear your attic of everything you need to keep accessible.
For items you’re storing long-term:
- Move boxes and bins to the garage, shed, or clear floor space away from the attic
- If storage must stay in the attic, push everything to one corner and cover with plastic sheeting
- Secure any covering so it won’t shift during installation
- Remove or protect family photos, documents, and sentimental items entirely
We also secure and protect your HVAC system, ductwork, and any fixtures that shouldn’t be buried in insulation. But having you remove personal belongings saves time and ensures nothing gets damaged.
What to do next: Spend 30 minutes before your scheduled installation clearing the attic. It’s one of the highest-impact prep tasks you can do.
HVAC System Preparation and Clearance
Your HVAC equipment, ducts, and return air handlers need protection and clearance. We ensure:
- Supply and return ducts are not kinked or crushed by new insulation
- Intake ducts are marked or protected so insulation doesn’t restrict airflow
- The furnace or HVAC unit has 12 inches of clearance on all sides (building code requirement)
- Dampers and damper registers are accessible
- Condensation lines are clear and not buried
If your HVAC system is undersized or inefficient, this is also a good time to discuss an upgrade. Poor ductwork or a failing furnace limits the benefit of new insulation. We can evaluate whether additional upgrades make sense for your situation.
What to do next: Check that your HVAC filter is clean and your system is running smoothly before we arrive. Let us know if you’ve had any recent issues with uneven heating or cooling.
How Our Installation Process Benefits From Your Preparation
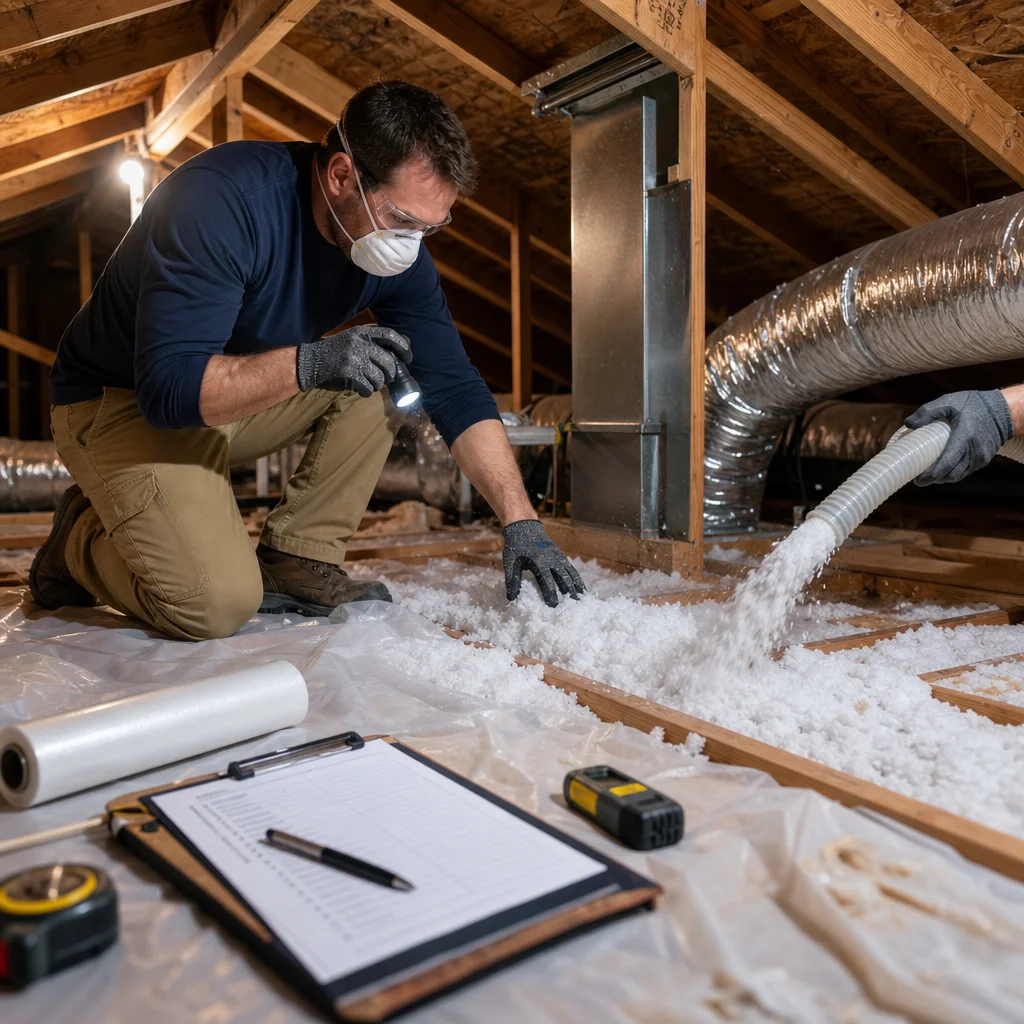
When your attic is properly prepared, our crew works efficiently and safely. We arrive with specialized equipment that blows loose-fill insulation evenly across your attic floor to your target R-value (typically R-38 to R-60 for Austin and San Antonio homes). The installation itself usually takes a single day, depending on attic size.
Because air leaking, ventilation, and clearances are already handled, we focus entirely on insulation placement. Our technicians use depth markers to ensure consistent coverage and avoid over-packing, which can compress insulation and reduce its effectiveness. We also verify that soffit vents remain open so attic airflow isn’t compromised.
The result is insulation that performs at rated value, a faster job completion, and energy savings that begin immediately. You’ll see the difference in your first heating or cooling bill.
What to do next: Ask us about the specific R-value recommendation for your attic based on your current insulation and local building codes.
Timeline and Scheduling Expectations for Your Project
From initial inspection to installation, most projects take 1-3 weeks. Here’s a realistic breakdown:
- Week 1: Free inspection, written assessment, and quote
- Week 2: Repair any structural issues or pest damage (if needed)
- Week 2-3: Schedule installation and complete your preparation tasks
- Installation day: Usually 4-8 hours, depending on attic size and complexity
If we find that air sealing or ductwork repair is needed, we’ll handle those before the insulation installation. This adds time but ensures your investment pays off fully.
Summer scheduling can be tight in Texas, so plan ahead if you want installation before peak cooling season. We also offer free estimates, so getting on our calendar early removes guesswork.
What to do next: Call us now to schedule your free inspection, even if you’re not ready to install immediately. We’ll get you in the queue and give you a clear timeline.
Common Preparation Mistakes That Compromise Results
We’ve seen preparation oversights derail otherwise solid projects. Here are the ones we catch most often:
- Blocking soffit vents with existing insulation: This traps moisture and defeats ventilation. Baffles must be installed to maintain the airflow channel.
- Leaving storage and clutter in the attic: Items get buried, retrieval becomes a mess, and our crew loses efficiency.
- Skipping air sealing: New insulation performs poorly if warm air leaks away through gaps. Air sealing is non-negotiable.
- Not addressing roof leaks first: Water damage continues under new insulation if the roof isn’t fixed.
- Assuming old insulation can stay: Settling, compression, or contamination in existing insulation can interfere with new material. We often recommend removal.
- Ignoring HVAC clearance requirements: Insulation can’t be packed around furnaces or equipment due to fire and safety codes.
These mistakes often cost more to fix later than they would have cost to address upfront. Our pre-installation assessment catches all of them.
What to do next: Ask us specifically about which mistakes apply to your attic so you know exactly what to avoid.
Professional Support: Why We Handle the Details
You could attempt blow-in insulation yourself, but the details matter. We bring certification, experience, and equipment that ensure the job is done right.
Our crew understands local Texas building codes, which require specific R-values and ventilation standards for our climate. We know how humidity behaves in attics and why ventilation must be perfect. We’re also trained to spot structural issues, pest damage, and mold that untrained eyes miss.
We carry proper safety equipment for working in attics, insurance that protects your home, and a track record with hundreds of satisfied Austin and San Antonio homeowners. If something goes wrong during installation, we stand behind our work with warranties and follow-up support.
Attempting a DIY project to save money often costs more in the long run when mistakes require professional correction. Our service fees reflect the expertise and accountability you’re getting.
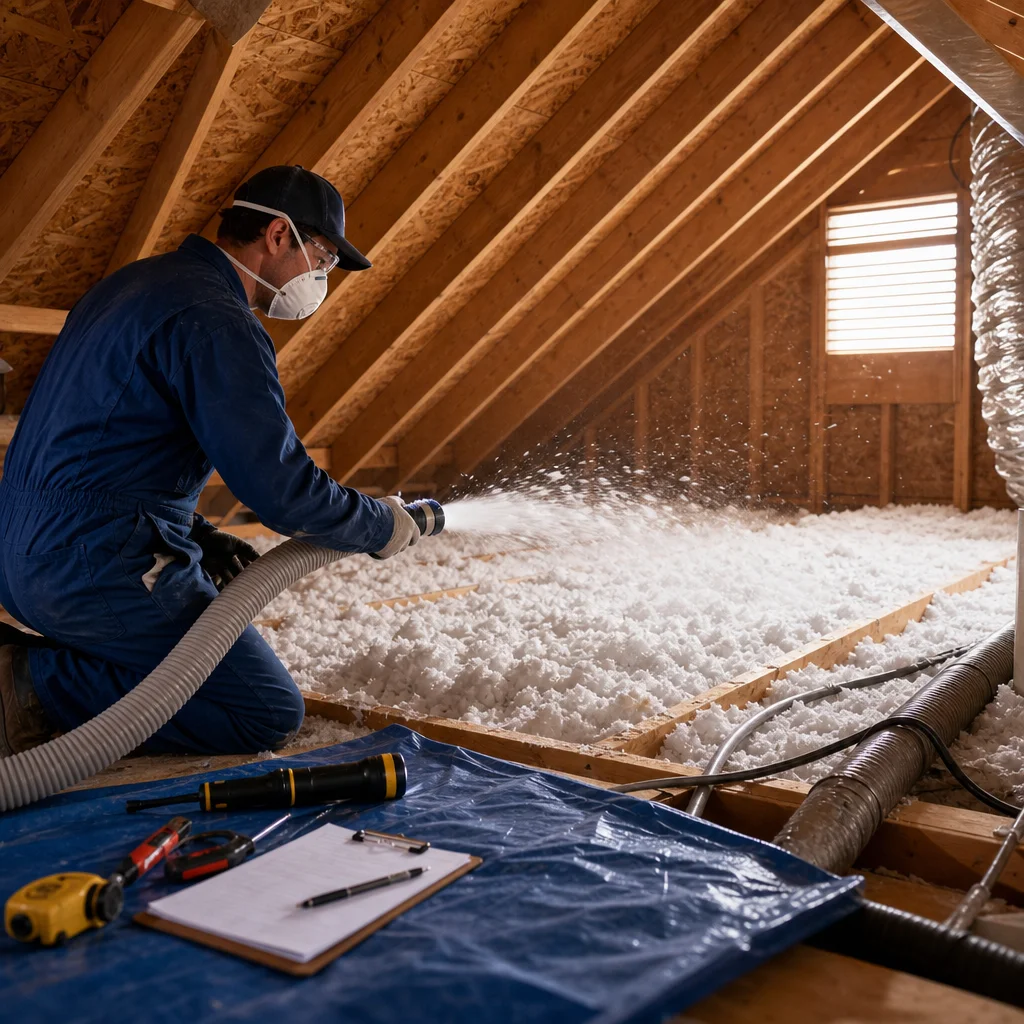
What to do next: Get a quote from us. Compare not just price, but the scope of pre-installation assessment and warranty coverage included.
Your Complete Checklist Before Installation Day
Use this list to ensure everything is ready:
- Clear all personal storage and valuables from the attic
- Ensure soffit and ridge vents are unobstructed and visible
- Verify HVAC equipment and ducts have adequate clearance
- Confirm roof is free of active leaks
- Check that electrical wiring is properly routed and identified
- Remove or cover any items that must stay in the attic
- Schedule any needed air sealing or ductwork repair before insulation day
- Clean or replace your HVAC filter
- Notify household members of installation day and access needs
- Confirm our crew has clear attic access from your interior (hatch or pull-down stairs)
- Ask us any final questions about coverage depth or materials
Print this list and work through it a week before your scheduled date. This final check catches oversights and keeps everything on schedule.
What to do next: Send us photos or a video of your attic if you’re unsure whether prep work is needed. We can review and advise by email or phone.
Getting Started With Go Air Ducts Today
Blow-in insulation is one of the smartest energy upgrades you can make in a Texas home. But success hinges on proper preparation. We’ve built our reputation on getting these details right, which is why our clients see real energy savings and long-term performance.
We serve Austin and San Antonio with certified technicians, free estimates, and a commitment to clear communication. When you work with us, you’re getting local expertise backed by real experience. We’ve handled hundreds of attic installations and know exactly what preparation your home needs.
Call us today for your free pre-installation inspection. We’ll walk your attic, provide a written assessment, give you a honest quote, and answer every question. No pressure, no sales tactics. Just straightforward advice from professionals who care about doing it right.
Your comfortable, efficient home starts with a properly prepared attic and the right insulation partner. We’re ready to make that happen for you.
For further reading: Ductwork inspection guide, Attic insulation mold benefits.
If you’re dealing with dust, poor airflow, mold in your ducts, or a clogged dryer vent — don’t wait. These issues can affect your health and safety. Go Air Ducts Group are the local experts in air duct cleaning, mold removal, dryer vent cleaning, and attic insulation. Call now for a free inspection and same-day service in Austin and San Antonio.
Frequently Asked Questions (FAQ)
What should we do to prepare our attic before your team arrives for blow-in insulation installation?
We recommend clearing your attic of personal items, boxes, and stored belongings at least a few days before our arrival. You’ll also want to ensure attic access is easy and safe for our technicians to move equipment. We’ll handle the detailed inspection and air sealing during our pre-installation assessment, but having a clean, accessible space lets us work efficiently and thoroughly.
How long does the entire blow-in insulation process typically take from start to finish?
Our timeline usually spans 1-2 weeks from your initial free estimate to completion, depending on your attic size and any air sealing work we identify as necessary. The actual installation day typically takes 4-8 hours, though we’ll provide you a specific schedule during our consultation. We always coordinate with you in advance so you know exactly when our team will be on-site.
What happens if we don’t properly prepare our attic before installation?
Skipping preparation steps like air sealing or clearing debris can significantly reduce your insulation’s effectiveness and energy savings. We’ve seen cases where homes didn’t achieve the R-value they expected simply because gaps and air leaks weren’t addressed first. That’s why we handle the critical preparation work ourselves and guide you through what you need to do on your end.